I was raised on soy rather than milk. Once I grew teeth, my kiddie diet included soy milk, fried tofu, and soy sauce, but hardly any milk, and certainly no cheese. When I moved to the United States, I was surprised to find that despite the numerous tofu varieties available, none tasted like the ones I used to have. Overtime, I also learned to love cheese. I ate a variety of fresh cheese while traveling, and surprisingly, I also found that it tasted differently here than elsewhere.
This difference puzzled me. One day, a carton of milk, left alone for too long in my fridge, turned sour and started to form curds on its own. So I helped it along by adding a tbsp of vinegar to make fresh cheese. Soft and creamy on the first day, it had morphed into rubber by the end of the week. It made me think of the tofu mystery, and I came to the suspicion that it had to do with their actual freshness. Even though “fresh”, they arrived to me packed in water-filled, heat-sealed plastic containers and most likely days old.
Not all food tastes best when fresh off the boat, as one would find out on PBS’s Mind of a Chef series, episode Fresh. Sashimi is the most tasty not when it’s straight out of the water, but through aging, allowing the enzymes to break down and moisture to evaporate, concentrating its flavors. The same goes for steaks, sometimes dry aged for months before they are put on the grill.
Fresh cheese and tofu are remarkably similar in how they’re made. Once soybeans are ground and boiled into soy milk, both milks require a salt or an acid to form curds. Soybean is considered a complete food. Soy milk’s high concentration of protein allows for curd suspension when a coagulant is added. And similar to milk, it’s high in fat, resulting in creamy curds. To make tofu, my choice of coagulant was nigari, a salt solution that is a byproduct of sea salt harvesting. It supposedly imparts a bitter taste, but produces a soft and silky texture compared to gypsum, another type of coagulant.
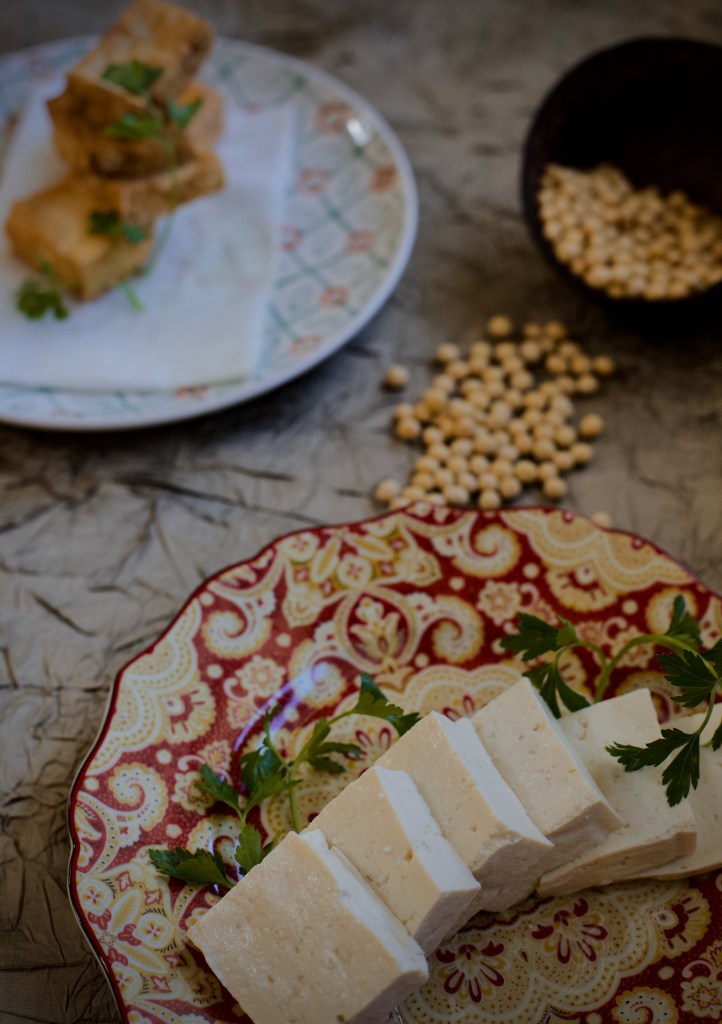
Tofu, first-batch: I started with Andrea Nguyen’s DIY tofu, using a tsp of nigari mixed with ½ cup of water instead of gypsum. If you grew up on this stuff, you will love the aroma of soybeans boiled into soy milk. Boiling transforms soybean’s raw and grassy into a sweet and homely scent, to the same place your brain would go from a whiff of vanilla. For weight, I used a 14-oz can and let it sit for 15 minutes. The resulting tofu was very soft, but it did not have what I was looking for. The fried tofu of my recollection had a crispy golden outer texture, and like fresh cheese, a creamy and crumbly inner texture. This tofu had a crispy but thin exterior. Its interior was a bit cellulose-like but still soft. Though when left to cool down to room temperature, the cellulose texture became less apparent. There was no bitterness detected in the tofu.
Tofu, second-batch: I modified the recipe by adding ⅛ tsp of salt to the soy milk. It seemed that by doing so, I needed an additional ¼ tsp of nigari for the curds to form. The fresh tofu was a bit firmer than the first batch, which I preferred. However, the texture became more rubbery when fried, and it was even more difficult to attain that golden crispness.
The puzzle was not solved. You know how folks describe what makes a New York bagel so different from the rest, wondering if it’s the air or the water. But it’s never the air or the water, and it’s not so easy to know unless you have friends or families in the business. Food is eaten and expected to taste a certain way, but rarely do we understand the sort of labor, techniques, and experience going into making it.
I knew it wasn’t the water or the soybean, because I already purchased supposedly the best soybean for tofu that money could buy. It came to me packed like a bag of artisanal coffee beans. Most likely, it would be the coagulant. Again, I searched and discovered another method using tofu whey as the coagulant for the next batch of tofu. Since fermented whey is basically a type of acid, one wonders why regular vinegar is not as popular in making tofu? -an aftertaste imparted by vinegar appears to be the primary reason. Yet fermented whey made from a previous batch of tofu would be the solution to this dilemma, however taking up the extra effort. Remarkably, mozzarella and burrata cheese are similarly made in Italy, using whey from the previous batch of cheese as the coagulant of choice.
Cheese, first-batch: Making fresh cheese is simpler than tofu, since we start with milk. I added ⅛ tsp of salt to the milk while heating it. Once it is short from boiling, anywhere between 165°F to 200°F, and taken off the heat, a coagulant of choice can be added. If using lemon juice, it takes about ½ cup of lemon juice, or 2 lemons, for 8 cups of milk. Gently stir in 2 tbsp of lemon juice at a time, wait 3 minutes in between until curds form and the milk turns into a clear yellow liquid, which is the whey. Then wait for another 10 minutes before ladling the curds into the mold. I used the same mold for making tofu. Press out the whey as much as you can before placing a 28-oz can on top of the cheese. It takes about 90 minutes for a soft creamy cheese and 2 hours for a firmer one commonly used for cooking. The lemon scent imparted upon the cheese is obvious. Sprinkled with sea salt, it is delicious spread on fresh fruits or with a drizzle of honey. Best eaten at room temperature, on the same day it’s made.
Tofu, third-batch: Nigari and gypsum aren’t the only coagulants; in fact, salts or acids work just as well. While waiting for the whey to ferment, I wanted to experiment with a combination of these two ingredients. Here was my thought process: acid made soft curds as seen with cheese making using lemon juice, while salt made firmer curds as seen with the tofu from the second batch. Therefore, a just-right ratio of vinegar to salt should make for a perfectly textured tofu. I started with a ratio of 100 ml water : 25 ml vinegar : 2 tsp salt for 6 oz of soybeans and 8 cups of water. The fresh tofu was firm; the vinegar aftertaste imparted upon it was apparent. Frying the tofu gave a crispy golden exterior and a firm interior, yet not quite spongy like the second-batch tofu. Reducing the amount of salt should get to a softer and less salty fried tofu. The whey was tasty, like the sort of salt water one would use to ferment vegetables. I was getting somewhere good and couldn’t wait to try making tofu with its own fermented whey!
Cheese, second-batch: It took 16 days for the whey to sour. It tasted more like lemon juice than vinegar. A tsp of salt was dissolved into the milk for this batch. With this whey, curds were indeed forming, but the milk did not break completely. After using 2 cups of whey without being able to break the milk, I added 4 tbsp of lemon juice to complete the process.
Cheese, third-batch: The next batch of whey was left to acidify for 28 days. It took ~1½ cup of fermented whey to coagulate 8 cups of milk, and I did not need any additional lemon juice. I used ½ tsp of salt this time. To accommodate for the large quantity of fermented whey, I added 6 tbsp of whey to the milk for each 3 minute interval. After 2 hours of compressing with a 28-oz can, the cheese was firmer and denser. It formed a smooth skin, textured like fine sand. The interior texture was also smooth compared to the first batch’s more porous texture. It may well be due to the 2 hours of compressing rather than 90 minutes.
On the first day, whey has a greenish yellow hue. Overtime, the solid particles sink down and the liquid loses its green tinge, but retains a light yellow to an off-white hue. Observe the color of the bottle labeled Cheese Whey after 28 days. The one with the darkest yellow hue was the tofu whey after 39 days. It appeared to have reached a stable state where it was not growing mold, but also was not getting more acidified. I should note that this was done in wintertime where my kitchen never went above 70F. Things should progress much faster in a warmer ambiance.

Tofu, fourth-batch: Since my tofu whey appeared to have reach stability, I needed to get a new batch going, and an idea went up in my head: substitute cheese whey to coagulate the tofu for the time being. The vinegary aftertaste is undesirable, but having a cheese-like aroma should be welcomed. For the fourth batch of tofu, I used ½ tsp of salt and it took ~15 tbsp of cheese whey to break the soy milk. For weight, I used a 28-oz can and let it sit for 15 minutes.
To ferment whey, start with one coagulated by an acid like vinegar, lemon juice, or fermented cheese whey. Make sure to sterilize your glass bottle with boiling water. After the curds are formed and before ladling them into the mold, press a strainer atop of the curds so that only the whey should be harvested into the glass bottle. Then wait until it turns sour. In a very hot climate, it may only take 3 days. In your climate-controlled home, it may take up to 1 month. Adding already soured cheese whey to the tofu whey speeds up its fermentation time significantly, but doesn’t seem to have any effect for the cheese whey.
Observations:
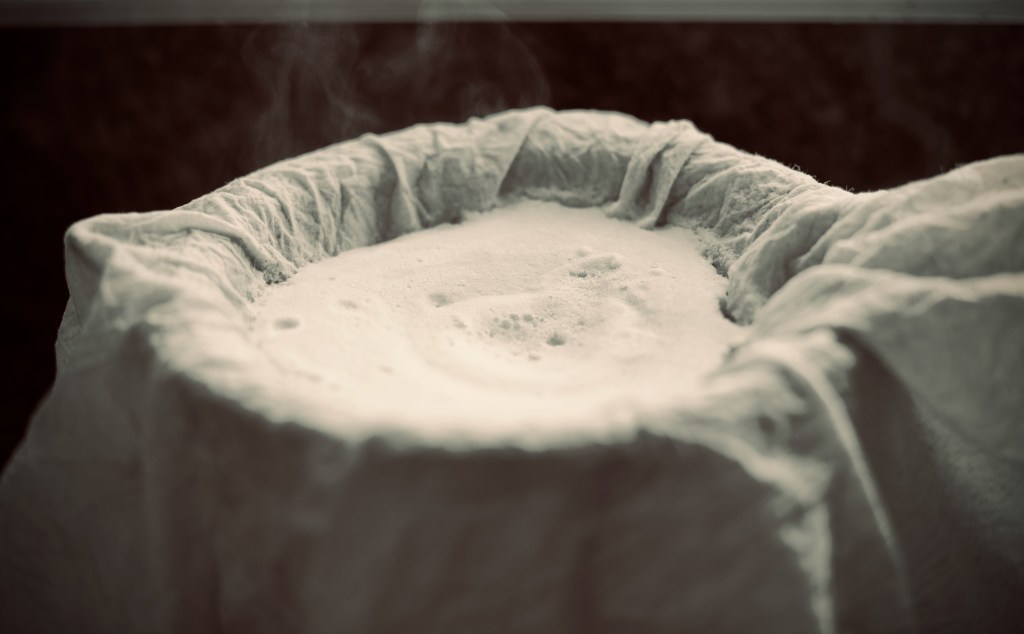
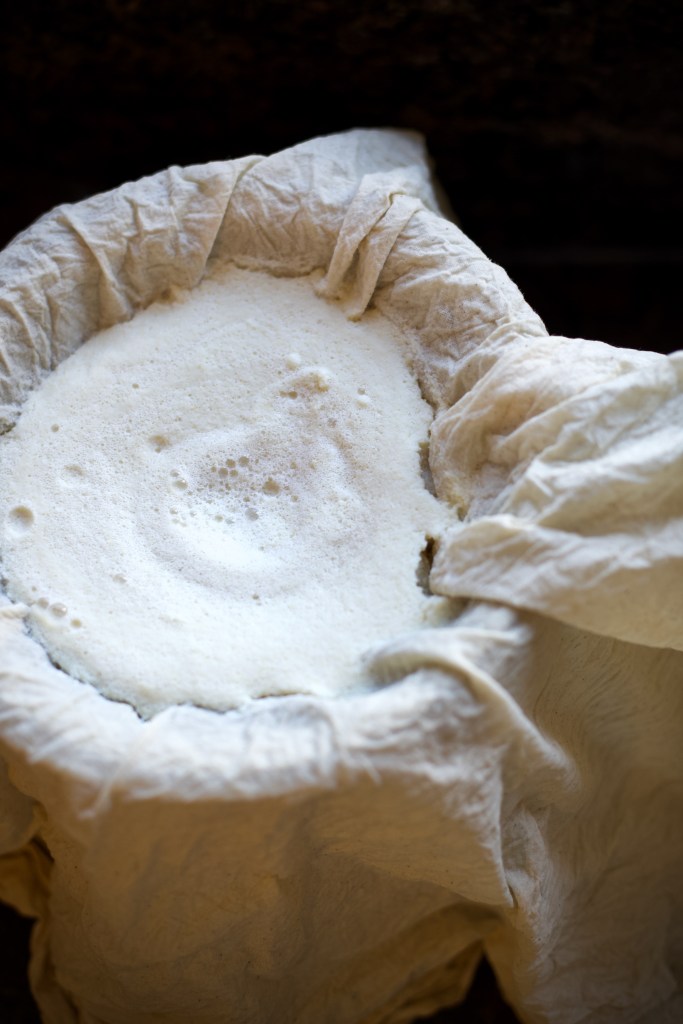
1. Soybeans, once soaked, should be ground finely. When straining for soy milk, it should take some time due to the paste binding the cloth. If the liquid is quickly escaping the soybean mass, the soybeans were not ground finely enough. The resulted soy milk’s texture should be thicker than whole milk. From my recollection, wet milling using stone burr grinders was the way, but perhaps no longer.
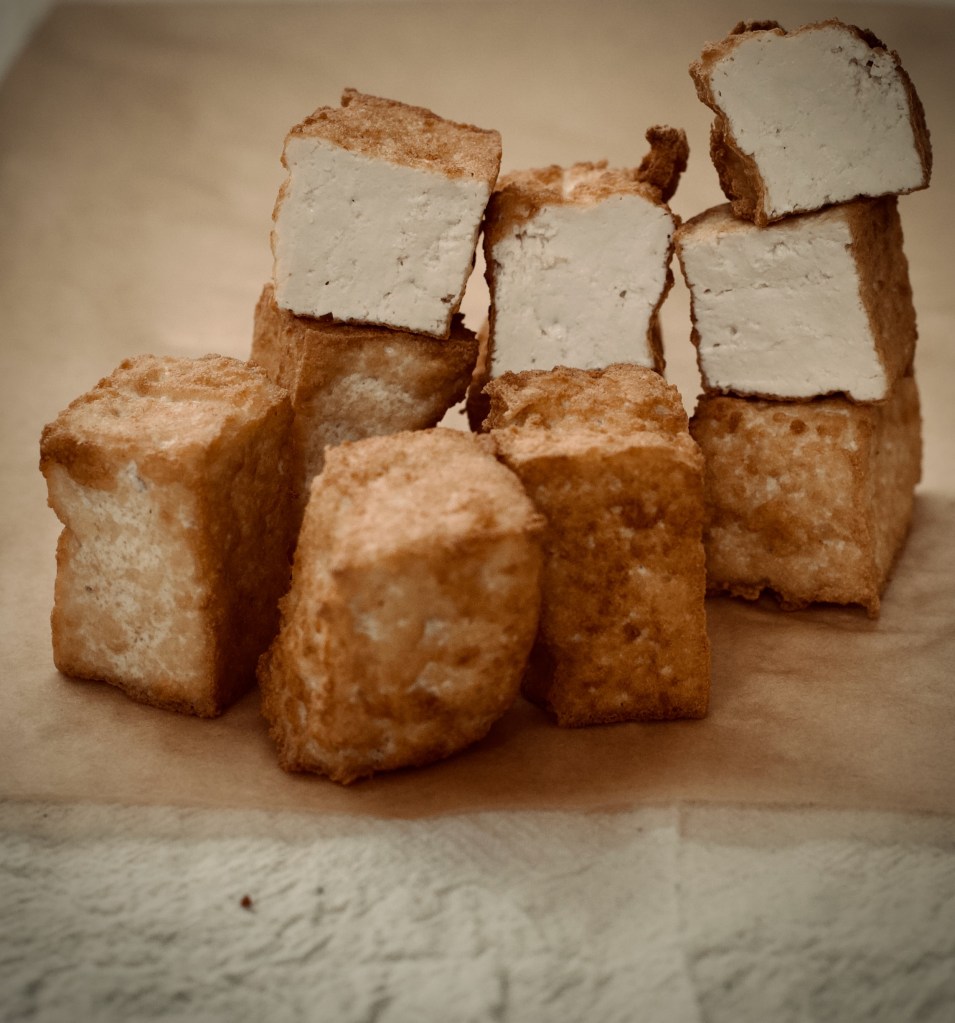
2. Skin forming is important. Skin-forming-sides obtain a golden crisp texture, in comparison to the cut-sides still having white blotches, despite being soaked in a salt water solution and dried with paper towel before frying. This observation finally explained to me why Vietnamese tofu are formed and sold in small blocks, ready to be cooked without the need to be cut apart at home. These wide and flat slabs of tofu maximize a crispy exterior while preserving their inner texture and moisture.
3. Salt matters: ½ tsp of salt made a very firm tofu, whereas ¼ tsp of salt made a medium-firm tofu. The fermented whey imparted a mild tang typical of fermentation flavor in the firm tofu due to its concentration. I do recall this distinct flavor and actually appreciate it. When the tofu was not used right away, the heat and humidity would ferment it within a day. However, it was not detected in the medium-firm tofu, nor was it visible in the cheese. Cow milk, unlike soy milk, has natural sugar which counteracts the tanginess of the fermented whey.
4. The fried tofu’s interior appearance was smooth and firm. When biting into the tofu, it should fall apart like curds and not resist the tooth like rubber. When the tofu does not form a proper outer layer to protect its interior, moisture evaporates during frying, further amplifying the cellulose-like inner texture formed with chloride-type coagulants such as nigari.
In my opinion, unless you can access special equipment for wide and flat slabs of tofu to form proper tofu skin, a very firm tofu makes the best fried tofu. With a very firm tofu, rough surfaces are formed, creating a sturdy and crispy exterior during frying. Soaking the tofu in a salt water solution for 15 minutes and then drying them with paper towel also help. Best eaten when letting it rest for some time after frying so that its juices can redistribute and settle.

One response to “Making Cheese & Tofu”
[…] firm tofu instead. Furthermore, varying the salt level did not give a more desirable texture. After the fourth batch, I experimented with ¼ tsp of salt for the same soured cheese water, which made a medium-firm […]
LikeLike